In custom box packaging, the dieline is one of the most foundational tools. Whether you’re designing, quoting, proofing, or manufacturing, having a correct dieline is critical to avoid costly mistakes, ensure accurate folding and cuts, and produce packaging that looks and functions as expected. As a box manufacturer with years of experience, you already work daily with dielines—but your clients often don’t. This blog aims to explain dielines clearly, help you use them more powerfully in your workflow, and help clients understand their value.
1. What Is a Dieline?
A dieline (sometimes called die line, cut line, or box layout template) is a flat template or blueprint that shows where the cuts, folds, creases, perforations, windows, glue flaps, and bleed areas of a package box will occur. Essentially, it’s the “net” or “unfolded” layout of the box before it is folded into its 3D shape.
A proper dieline often includes:
Cut / Trimming lines: where the material is cut away
Fold / Crease / Score lines: where folds will happen
Glue flaps & tabs: areas for adhesive to assemble the box
Bleed / Safety zones: extra margin so printed designs don’t get cut off
Clear space / dieline margins: areas that shouldn’t have critical artwork overlapping cuts or folds
Window cutouts, vents, holes: optional cut shapes in the box
Registration & crop marks (sometimes)
In graphic files, dielines are often drawn on a separate layer (usually as outlines in a distinct spot color, like “Dieline” or “CutContour”) so they don’t get printed.
You can think of a dieline as the bridge between the flat artwork design and the 3D box that your factory will produce.
2. Why Dielines Are Critical in Packaging Box Production
Without a good dieline, many things can go wrong. Here’s why dielines are so important:
2.1 Ensure Accurate Cutting & Folding
If the cut and fold lines are misplaced, the box may not close properly, may have misaligned artwork, or may not structurally function. A correct dieline ensures the box will fold and assemble correctly.
2.2 Art & Printing Alignment
Your artwork (logos, patterns, images) needs to align properly across folds, edges, seams, and so on. The dieline guides the designer to avoid placing key graphics over cut lines, fold lines, or glue flaps unintentionally.
2.3 Communicate with Manufacturer & Prevent Mistakes
A dieline is the universal “map” you (the manufacturer) and client share. It ensures both parties understand exactly how the box is constructed. It reduces miscommunication, faulty proofs, or costly remakes.
2.4 Cost & Material Efficiency
By optimizing how dielines lay out multiple boxes on a sheet (nesting / imposition), you reduce waste and improve material usage. Knowing dielines allows you to pack more boxes per sheet and minimize unused board.
2.5 Enabling Prototyping & Mockups
With a dieline, you can cut out rapid mockups (paper or prototype) to physically test the box, see how artwork wraps, catch collisions, measure dimensions, and more, before moving into mass production.
3. Anatomy of a Dieline: Common Elements & Layers
Let’s dive deeper into what a dieline typically contains, and how designers and manufacturers use it.
| Element | Purpose | Common Conventions / Tips |
|---|---|---|
| Cut / Trim Line | This is where the board is cut; defines the outer boundary of the box layout. | Often a solid line; should be clearly labeled “cut line” or “trim.” Artwork should extend past it to the bleed zone. |
| Fold / Crease / Score Lines | Indicate where the board is scored or creased to fold the box. | Drawn as dashed or dotted lines; sometimes with shorter dash-dot patterns. The folds should align with box structural logic. |
| Glue Flaps / Tabs | Areas that fold in to glue, join, or lock the box. | These flaps are critical in assembly; their margins, width, and location must be correct. |
| Bleed / Safety / Margin Zone | Extends artwork beyond the trim to allow for slight cutting variation. Safety margin means no critical text or logos near edges. | Artwork often extended 3 mm / 0.125 in or more beyond the cut line; keep important content inside “safe zone.” |
| Window / Cutouts | If the design includes a window (plastic, mesh, etc.) or cut holes. | Mark these on the dieline; ensure the window border is thick enough for stability; consider artwork and board strength around window perimeter. |
| Registration / Crop Marks | External marks to help the press and cutting machines align sheets. | Crop marks, registration targets, alignment features outside the printable area. |
| Reference Dimensions / Labels | Key measurements, material thickness, fold directions, die number, version, etc. | Include labels (Front, Back, Top, Bottom), version numbering, material callout (board thickness, coating), margin notes. |
| Safety Warnings / Notes for Manufacturer | e.g. “Extra glue area here,” “Avoid artwork under flap,” “Score lightly,” or “Emboss area here” | These help avoid errors in production; include as annotation or in a separate “notes” region. |
In artwork files (e.g. Illustrator, InDesign, CAD), the dieline is usually placed on a separate layer (hidden when producing print proof) and often designated with a spot color named “Dieline” or “CutContour” so it’s not sent to print.
4. How to Create a Dieline (Design Workflow)
Below is a step-by-step workflow (for you or your clients) to create a dieline that is accurate, usable, and reliable.
Step 1: Start with Box Structure / Engineering Sketch
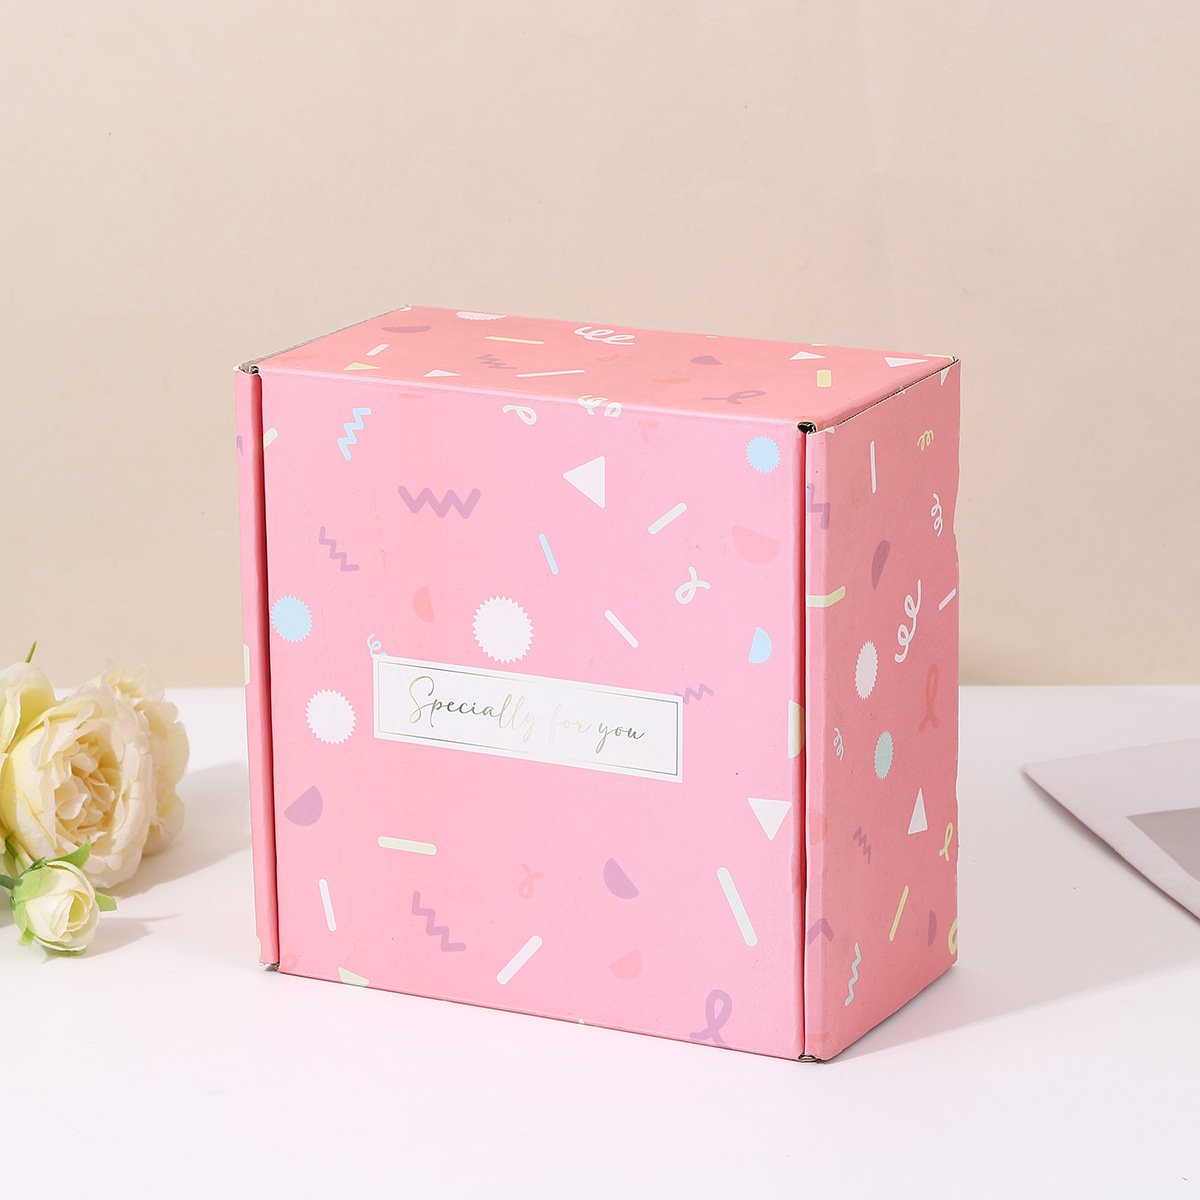
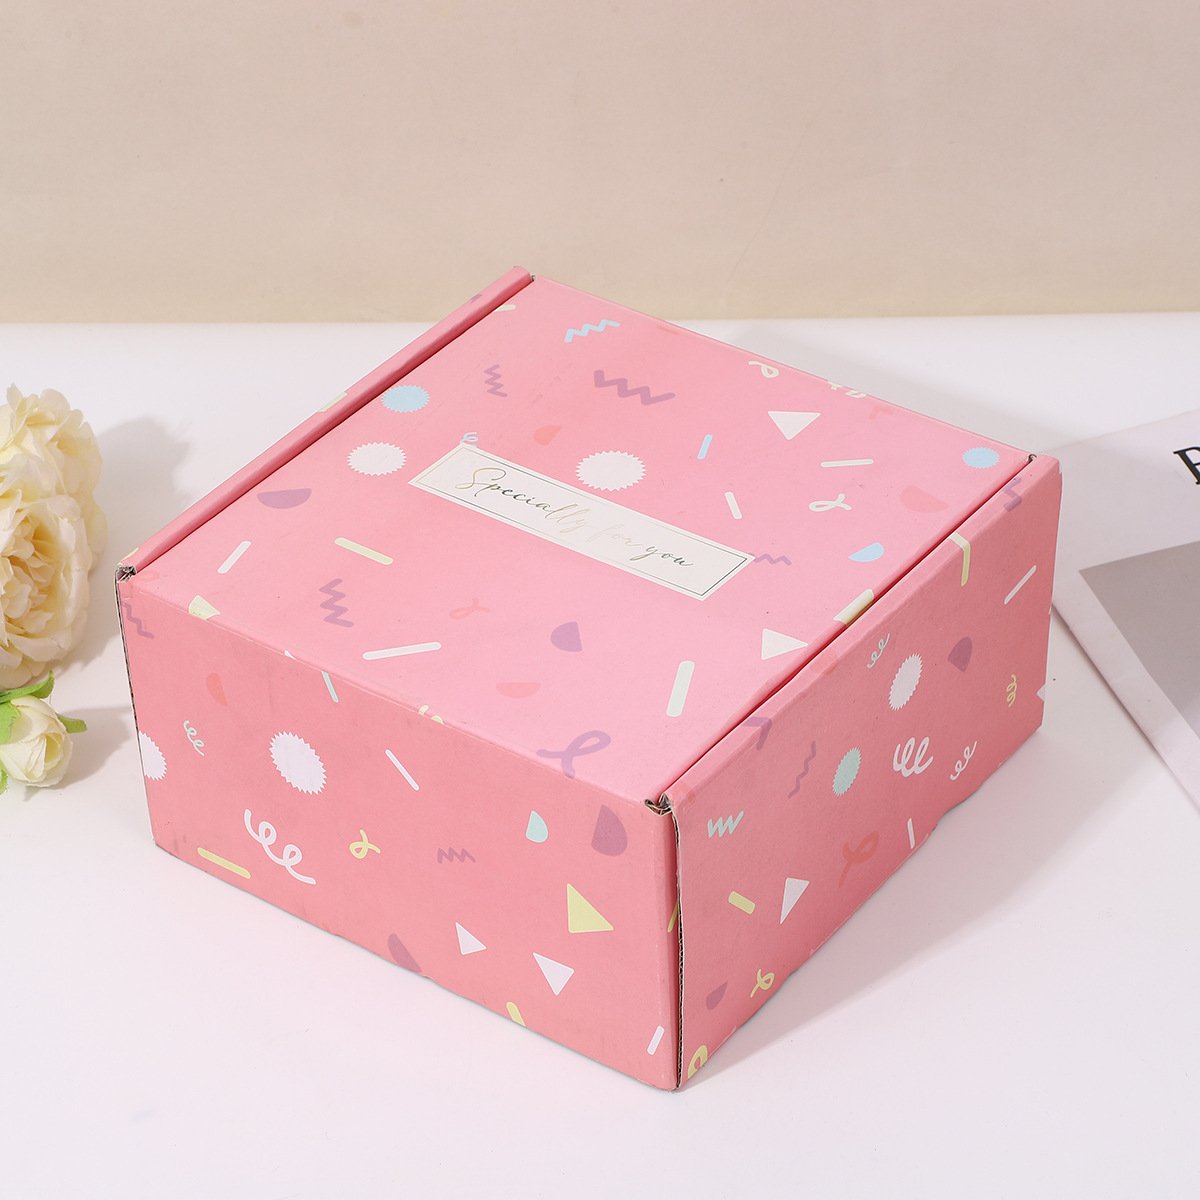
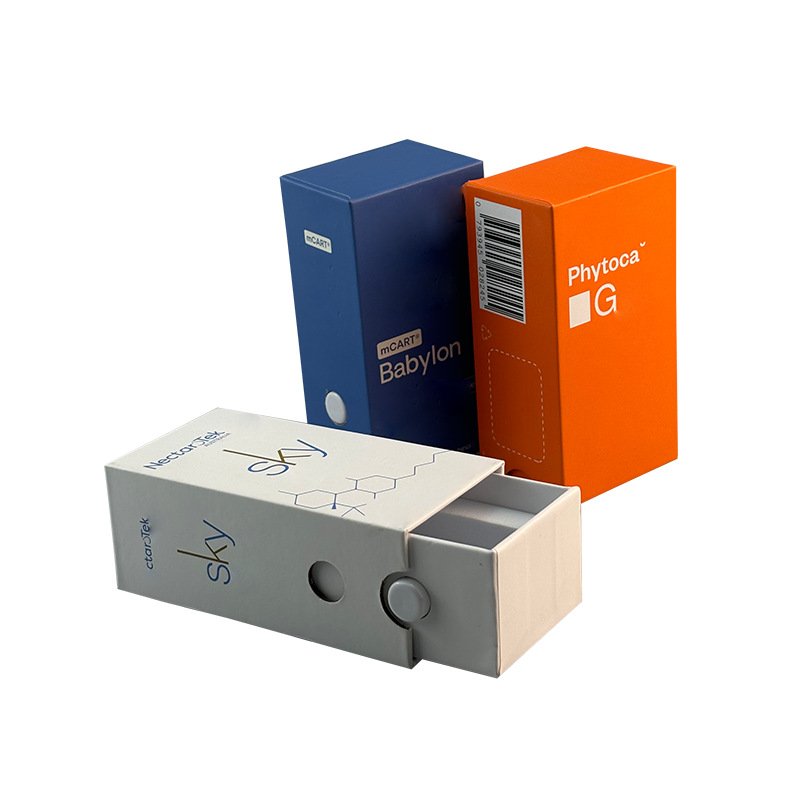
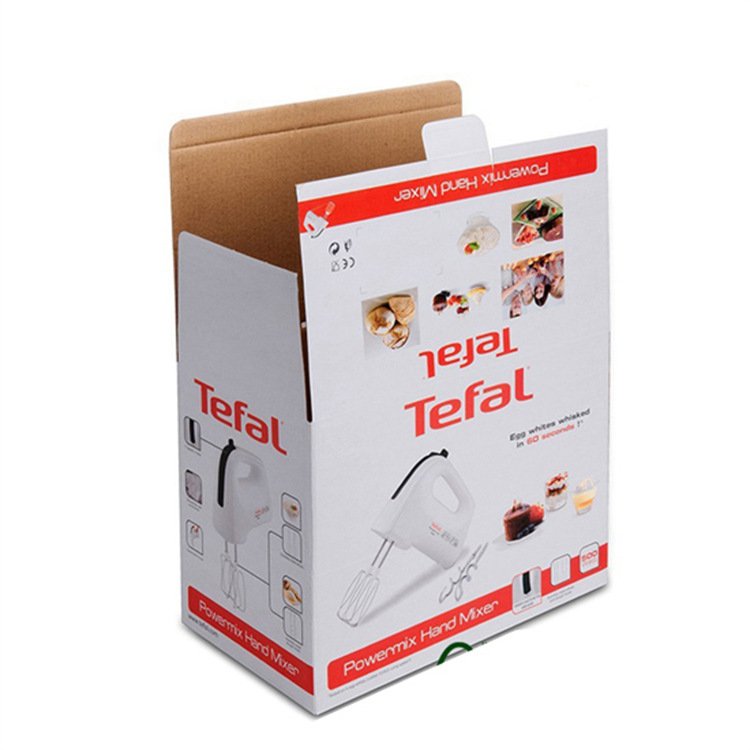
Know the box style: e.g. regular tuck, reverse tuck, auto bottom, mailer style, rigid box, sleeve + tray, foldable box etc. Also know material thickness, folding direction, internal dimensions, closure style. Sketch out a box blueprint.
Step 2: Calculate Flat Layout / Net of the Box
From the 3D sketch, “unfold” the box to a 2D layout: panels side by side with glue flaps. This is the base geometry of your dieline.
Step 3: Determine Material / Board Thickness Effects
Because the board has thickness, the inside dimensions subtract twice the board thickness, and fold allowances must consider thickness. For very thick board, relief or corner relief (small cuts) may be needed to fold cleanly.
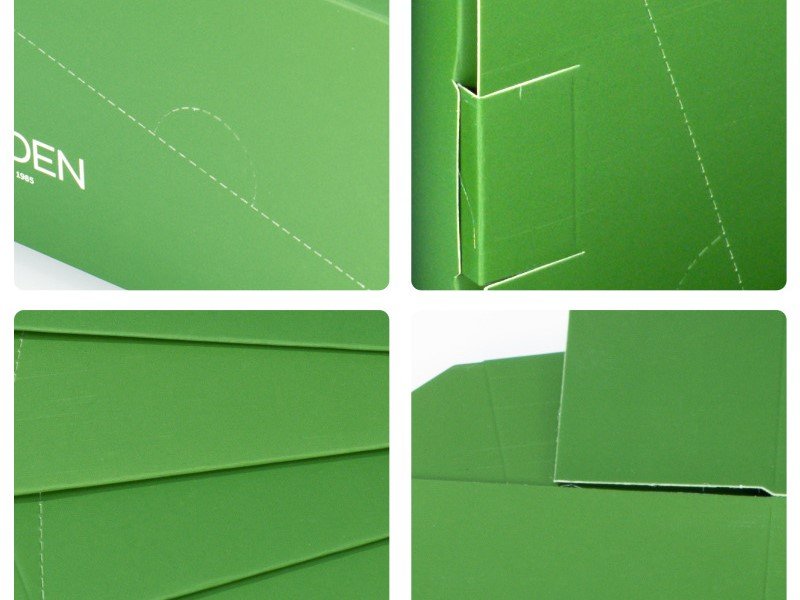
Step 4: Lay Out Cut and Fold Lines
Draw cut (trim) lines, and fold/score lines appropriately. Ensure that glue flaps are sized correctly and that no negative clearance or collision occurs. Label fold direction (mountain fold, valley fold if needed). Also determine which folds need full score vs partial.
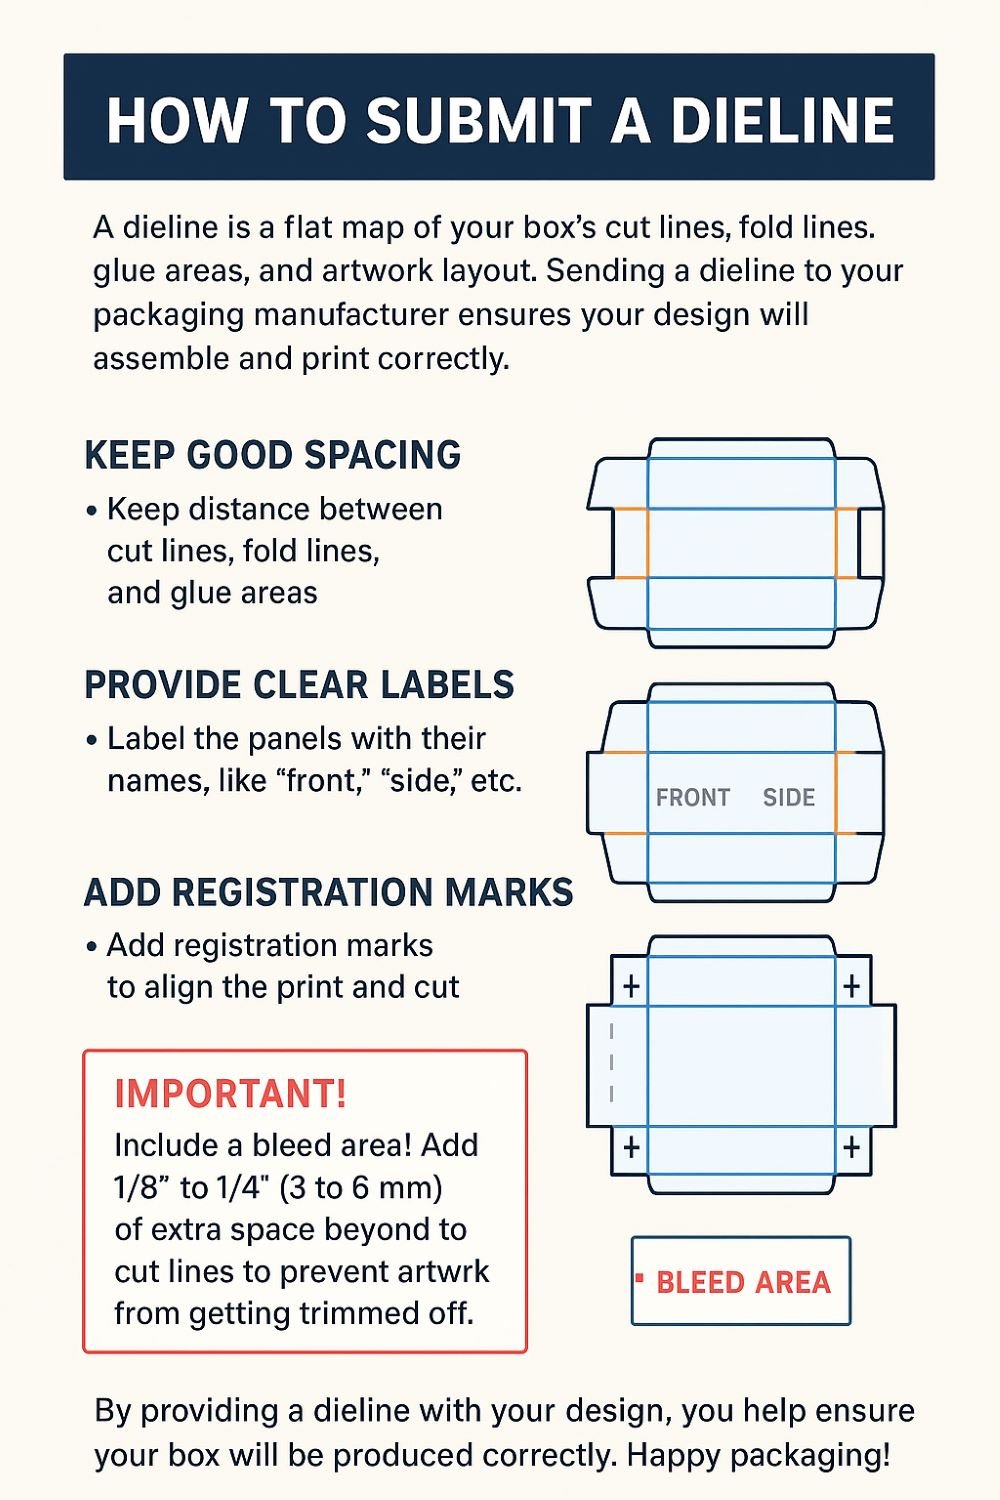
Step 5: Add Bleed Area & Safe Zone
Extend the dieline artwork outward by the bleed amount (say 3 mm or 0.125 in). Inside that, define the “safe zone” margin where no important text / logos should cross. This ensures no critical design is accidentally trimmed.
Step 6: Add Windows, Cutouts, and Special Areas
If the box needs a window, perforations, vent holes, tuck slits, etc., draw those on the dieline too. Mark these clearly.
Step 7: Add Labels, Reference & Notes
Place and label panels (Front, Back, Left Side, Right Side etc.), version or revision number, board type, thickness, material, folding direction notes, glue areas, manufacturer notes. Also include crop marks or registration as needed.
Step 8: Nest / Imposition for Layout Efficiency
If producing many boxes on a sheet, nest multiple dielines to maximize usage, minimize waste, optimize sheet usage. At this point, design the imposition layout.
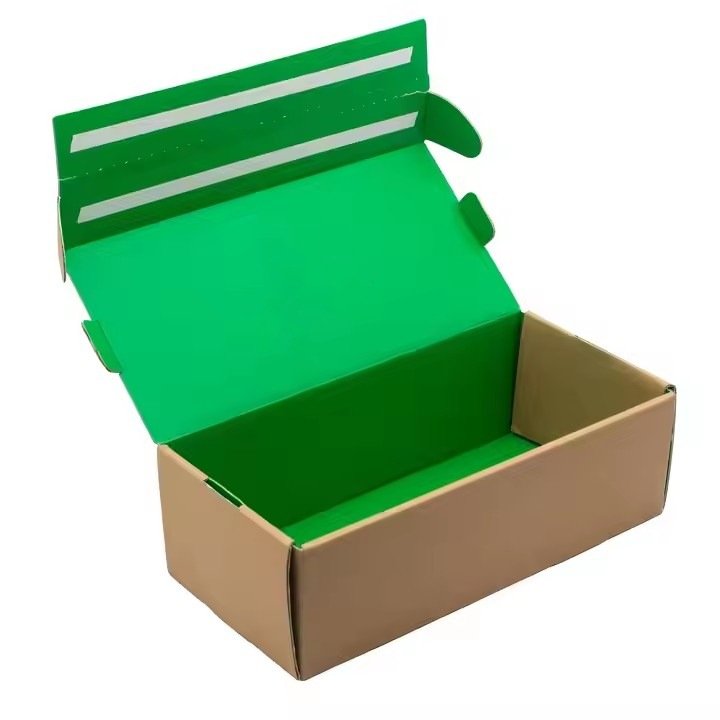
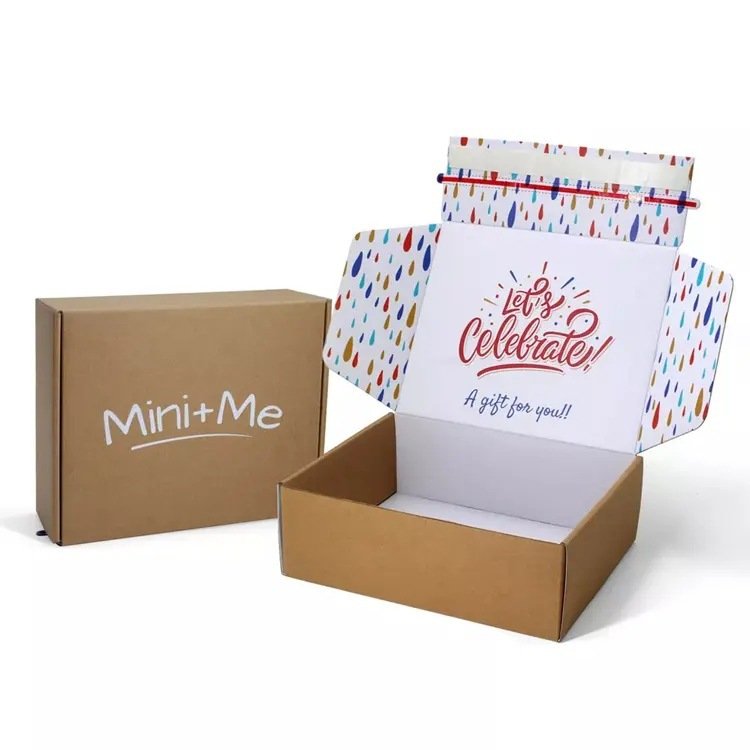
Step 9: Validate via Mockup / Prototype
Export or print the dieline, cut it (on paper or board) and fold to check alignment, closure, artwork overlap, fits, flap strengths, etc. Adjust as needed. Many mistakes are caught here before mass production.
Step 10: Finalize & Provide to Manufacturer
Deliver the dieline in final format to the box manufacturer (often vector format, e.g. AI, PDF, EPS, DXF), on a dedicated layer, with all needed notes & specifications.
5. Common Pitfalls & Mistakes in Dieline Design
Even experienced designers sometimes make mistakes. Here are common pitfalls to watch for (and avoid) in packaging dielines.
| Pitfall | What Goes Wrong | How to Avoid / Check |
|---|---|---|
| Artwork or logo crossing fold / score lines | The design gets cut or distorted at fold; visuals misalign | Ensure design within panel safe zone; test mockup; move critical graphics away from folds |
| Dieline layer printed accidentally | The cut/fold lines show on the printed box | Put dieline on separate, non-printing layer or use spot color locked for die only |
| Incompatible board thickness / fold clearance | The box doesn’t fold cleanly or “pops open” | Account for board thickness in the net; provide relief cuts or design small gaps |
| Glue flap too narrow or too wide | Weak glue bond or wasted space | Use standard flap widths; test glue adhesion; consider board strength |
| Misregistration with artwork / print | Parts of print don’t line up with dieline; color misalign | Ensure alignment markers, proofing; overprint or registration buffers; lock artwork within safe region |
| Window / cutouts too close to edges or folds | Weak structural integrity; tears or miscuts | Maintain minimum margins around window or cutouts; test physically |
| Poor nesting / translation of dielines for sheet layout | Waste of board material or inefficient yields | Use software or nesting algorithm; validate layouts |
| Forgetting to adjust for bleed and safety margins | Part of print gets trimmed off | Always include bleed in artwork and check safe zones |
6. Dieline Conventions, Color & Layering for Graphic Files
When designers prepare dielines, certain conventions help avoid confusion and production errors. Here are best practices.
Use a dedicated layer for dieline (e.g. named “Dieline” or “CutContour”). This layer should not be printed; it is often hidden or removed when generating print PDF.
Use a spot color named “Dieline” (or “CutContour”) with no print output (100% knockout or overprint off). This helps manufacturer identify what lines are die instructions — not part of artwork.
Use consistent line styles: e.g. solid lines for cut, dashed for folds, etc. Define a legend.
Do not place critical text or logos overlapping fold or cut lines. Respect safe zones.
Maintain correct alignment / registration marks, crop marks, and bleed layout beyond cut lines.
Versioning: include revision or version numbers, date, and naming consistency (e.g. V1, V2) so manufacturer and client always reference same version.
Include notes / instructions in non-print layer (die operator notes, special fold allowances, embossing, glue locations) so manufacturer understands special requirements.
7. How Dielines Influence Cost, Waste & Manufacturing Efficiency
Dielines are not just “templates” — they influence many operational and cost factors. As a manufacturer, optimizing dieline design and usage drives profitability.
Material Waste & Yield
Poorly nested dielines or inefficient imposition cause wasted board, increasing cost.
Large blank margins, unnecessary spacing between units, or suboptimal box layout raise material cost.
Good dielines allow tighter packing of box outlines on sheet, better yield.
Tooling & Cutting Efficiency
Cleaner dielines make die cutting faster, more accurate, with fewer mistakes or misfeeds.
Complex dielines with excessive cut detail or micro cuts may increase die wear, slow cutting, or raise failure rates.
Keeping dielines within machine capabilities (minimum dimension, maximum detail) helps reliable production.
Proof / Sample Costs & Rework
Mistakes in dielines lead to mockups failing, needing redesign, causing delays and extra cost.
Clear, accurate dielines reduce back-and-forth, prevent production starts with wrong templates.
Machine Utilization & Setup Time
Simple, clean dieline design reduces setup or alignment time in the factory.
Complex or nonstandard dielines may increase machine downtime, operator adjustment, and mistake rate.
Scalability & Reuse
For multiple SKUs or box versions, modular or standardized dieline elements (shared panel sizes, consistent flap layouts) allow reuse, reduce new dieline creation.
Keeping a library of proven dielines helps faster quoting, prototyping, and production.
8. Real-Life Examples / Illustrations
Here are a few illustrative examples to help bring the concept to life.
Example A: Retail Folding Carton for Cosmetics
Client wants a six-panel folding box with windows, a front logo, side text, and emboss accent on the logo.
Dieline: Six panels laid out in net, glue flap on one side, score lines between panels, window cutout area on front panel. Emboss mask drawn (on a separate spot UV / emboss layer) over logo area. Bleed and safe margins included.
Mockup: Paper prototype built to confirm fold alignment, window thickness clearance, emboss alignment.
Production: Artwork is printed, then emboss applied, die-cut along the dieline, fold, glue.
Example B: Sleeve & Tray Rigid Box
A gift box uses a tray nested inside a sleeve. Dielines include two separate nets: one for sleeve, one for tray. Each has its own cut/fold lines, glue flaps etc.
The sleeve dieline includes panel layout, gluing tabs, artwork wrap; tray dieline includes side walls, base, gluing flaps.
Sometimes embossing or foil stamping is planned on sleeve front; dieline notes which parts get foil or emboss.
Good mockups catch misalignment, fit clearance between sleeve & tray, and clipping of graphics.
9. Tips & Best Practices (from Manufacturer’s Perspective)
Given your years of experience, here are refined tips to ensure dieline usage is optimized for quality, efficiency, and minimal errors.
Maintain a Dieline Library / Template Bank: For common box styles (tuck, auto-bottom, mailer, rigid setup), maintain standardized dieline templates you reuse. This reduces time and error.
Automated Nesting Tools: Use CAD / nesting software to pack dielines optimally on sheets; this improves yield and reduces waste.
Cross-Check Dielines with Designers Early: At quotation stage, ask clients for dielines (or ask them to provide), and validate whether they are correct. Catching issues early is key.
Mockups / Rapid Prototypes Always: Even small simple boxes should have mockup builds to confirm dieline before mass production.
Dieline Version Control & Clear File Naming: Always version your dielines (V1, V2 etc.), use dates, avoid ambiguous file names. This avoids accidental wrong dielines being used.
Die Tolerance & Minimum Features: Understand your die cutter’s capability: minimal line width, minimal corner radius, minimal cut spacing etc. Make sure dielines respect these tolerances.
Communicate Cut / Fold Line Conventions to Clients: Educate your customers what lines mean (cut vs fold vs glue), and what constraints (e.g. how close text can be to fold) exist.
Margin Safety & Artwork Guidance: Always enforce safe margins, bleed zones, no overlap of critical graphics over fold lines or cut edges.
Allow for Die Thickness & Kerf (Cut Loss): Cutting tools have a kerf (cut width) — sometimes a small amount of material is lost. Dielines should account for that where precision is critical.
Check Folding & Tolerance Accumulation: When box dimensions are tight, small tolerance errors in each fold or panel add up; good dieline design helps manage those accumulations.
10. Client Education: What You Should Tell Your Brand Clients
Often your clients (brands) don’t understand dielines fully and may submit artwork without proper dieline or with errors. Educating them helps reduce iteration, errors, and cost overrides. You can communicate these points:
“A dieline is the ‘map’ your box manufacturer uses to know where to cut, fold, glue, and leave space—so your artwork actually ends up properly aligned.”
Always submit artwork together with the corresponding dieline (in vector format, separate layer).
Keep critical graphics and text well inside safety margin—don’t let logos or text ride very close to folds or cuts.
If you want special features (windows, emboss, foil, etc.), mark them on the dieline/mask layers.
Understand that dielines are not for printing— the dieline lines should not appear on the final box. They help with production only.
Review mockups or prototypes before full run—errors caught then save time and money.
Be consistent: if you later reorder or modify artwork, reuse or reference the same dieline (with versioning) to maintain producibility.
Dielines are more than just technical templates
Dielines are more than just technical templates—they are critical communication tools bridging design and manufacturing. A well-constructed, accurate dieline helps guarantee that the beautiful artwork you or your clients design actually folds, cuts, aligns, and performs correctly in real life. Across cost, yield, error prevention, prototyping, and production efficiency, getting the dieline right is foundational.
With our experience and presence in the packaging manufacturing field, integrating dielines fully into our quoting, proofing, client education, and quality assurance processes will help us deliver better packaging, reduce rework, manage cost, and build trust with clients.
About BM Paper Box Manufacturer
We are a professional paper packaging box customization factory with ten years of industry experience. We focus on providing customers with high-quality customized packaging solutions, covering consumer electronics, medical equipment consumables, cosmetics and other fields, with ingenious design and exquisite technology, to add infinite charm to customers’ products.
As a professional paper packaging box customization factory, our service range is wide, covering consumer electronics, medical equipment consumables, cosmetics and other fields. Whether it is the exquisite gift box of high-end consumer electronics, the professional packaging of medical equipment, or the fashion outer box of cosmetics, we can tailor the most suitable packaging solution according to the needs of customers and the characteristics of the product. Our professional strength has been recognized by many brand customers and become their trusted partner.
Why Choose BM Paper Box Factroy
HIGH END QUALITY:As one of the best customized paper box manufacturer in china, our QC team will ensure every single product you receive are best quality. We have professional quality testing machine.
PRODUCT DESIGN:Our sampling department has complete process of making drawings into reality. We also improve your product design based on our years of working experience.Tell us what you think.
STABLE DELIVERY TIME:As the best gift box manufacturer & supplier,we have sufficient manufacturing capacity, big orders won’t beat us, we can still deliver the order for you in time.
BEST PRICE:We are source factory of paper boxes and the best manufacturer in China, that’s why we can provide high quality bags with best price.
PRECISE MANAGEMENT:Nothing can be achieved if we don’t implement precise management. We are a company with complete management system.
7-24 SERVICE:As the best paper box manufacturer, 24-7 immediate response: We’ll receive your feedback to make us a better supplier.contact us(+86 18925520049)
FAQs About BM Paper Box
We are a Chinese top manufacturer and our factory is located in Dongguan. Welcome to visit our factory!
• We are a professional paper packaging product provider, especially in the gift packaging field. We can produce kinds of paper boxes and paper bags for multi-purpose.
• We provide one-stop services and accept custom designs as your requirements.
•Of course, usually we will provide free samples, and you only need to cover the freight. For custom printed samples, pls send your requirements to us for checking the sample cost.
• It takes about 7 days for sample production.
Yes, we provide free design services, structural design and simple graphic design.
Sure. We can do any packaging with your design. Now we open a ODM packaging which is for small quantity from 100pc to 500pc,but you can still have your own logo.
Depending on the order quantity and production details, it will take about 15 to 20 days.
Always a pre-production sample before mass production; Always final Inspection before shipment
• Size, material, printing details, quantity, shipping destination, etc.
• You can also just tell us your requirements and we will recommend products to you.
• By sea, by air or by express.
• If you have your own freight forwarder in China, it is the ex-factory or FOB price.
•CFR or CIF, etc., if you need us to ship on your behalf.
• DDP and DDU can also be used.
• More choices, we will consider your choices.
• The price is determined by the quantity, material, processing method, size and other factors. In addition, due to our continuous
technological innovation, the prices of some of our products are extremely competitive, please contact us to quote.


